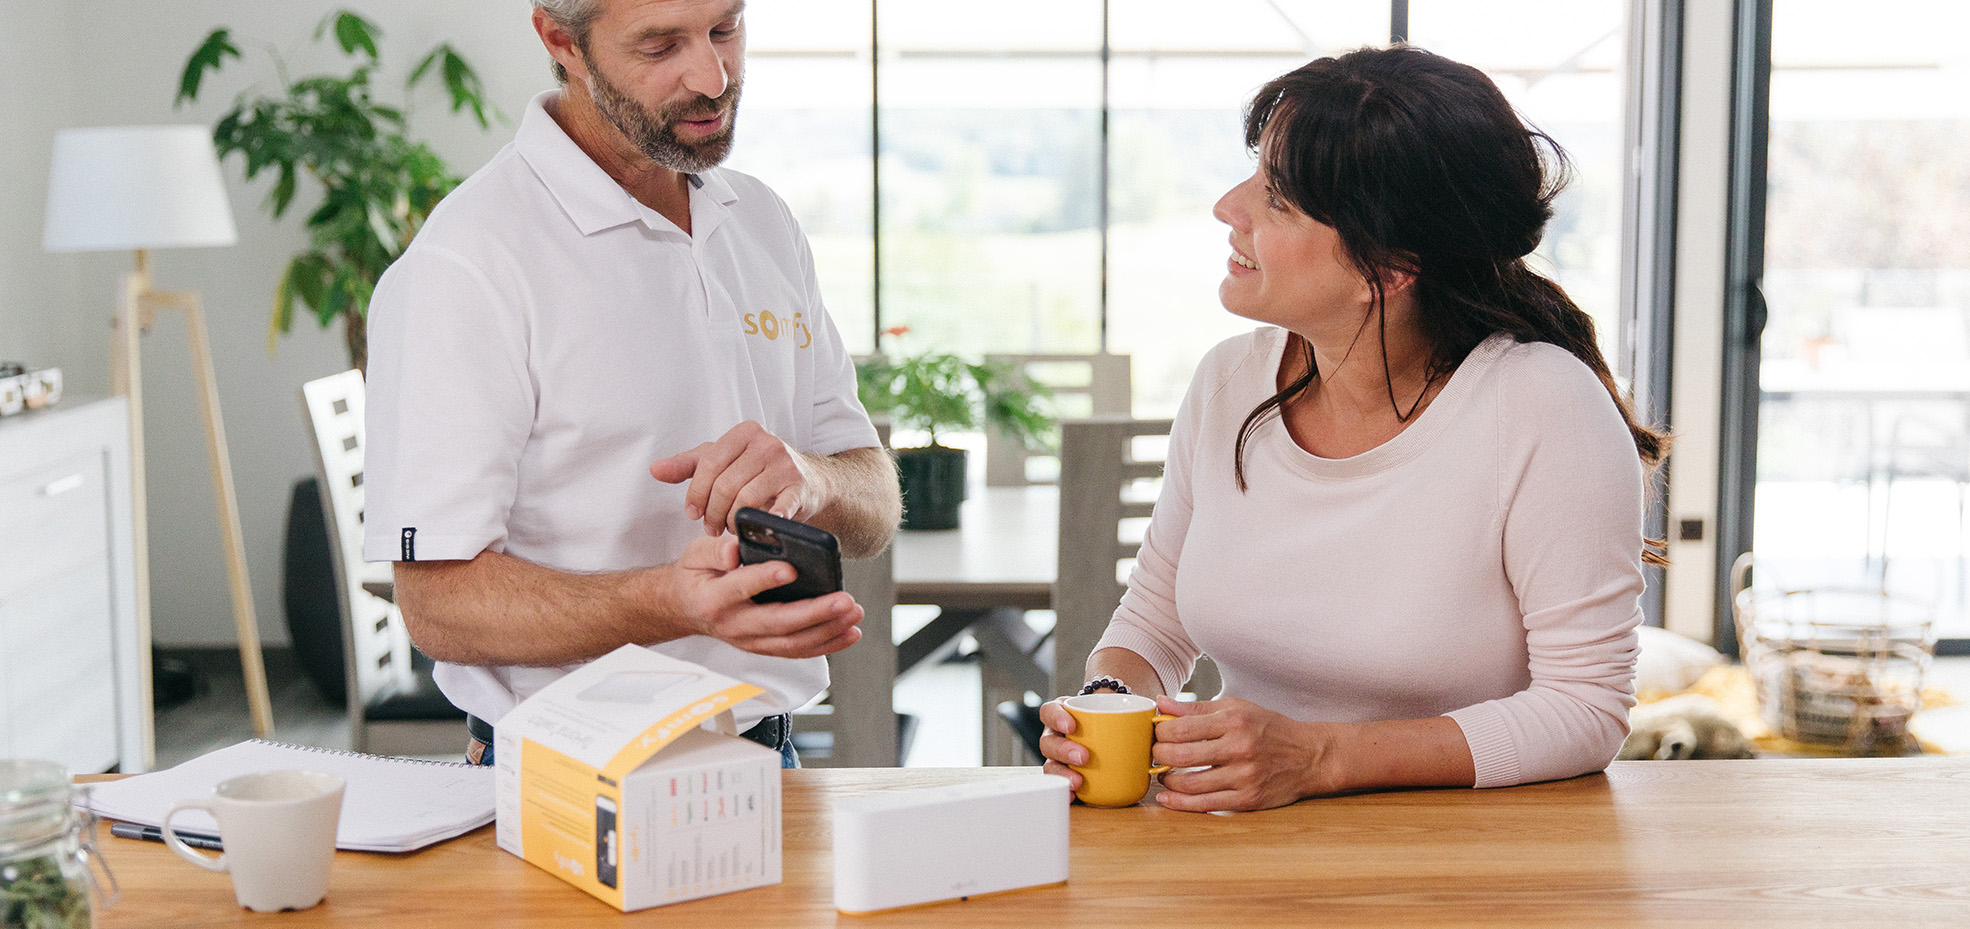
Product
Ref : 1870600 - TAHOMA SWITCH_P_G
You have the possibility to connect
Switch your home in one touch
Applications | ||
---|---|---|
Alarm / Awning / Camera / Curtain / External Venitian Blind / Exterior Vertical Screen / Garage door / Gate / Heating / Interior blind / Lighting / Pergola / Rolling shutter / Smart Home / Veranda | ||
Embedded Technologies | Warranty | |
Zigbee, RTS, io | 5 years |
Product benefits
1. Centralise & control your home in one touch
Launch your 2 favourite scenes from the buttons. Customise them as much as you want! Take advantage of our new mobile application made for and with its users, for a totally new experience.
2. Open and prepared for the future
Compatible with Somfy and partner products as well as voice assistants. Your customers can add new products at their own pace with the TaHoma® application, and can adapt the scenes with the buttons according to their needs.
3. Designed for all desires
TaHoma® switch is fully customisable according to the daily life of your customers. The possibilities are endless, especially thanks to the Wi-Fi connection and its sobriety, TaHoma® switch can be placed anywhere in the home, and adapts to any interior style.
What is the carbon footprint?
The carbon footprint calculates the greenhouse gas emissions over the entire life cycle of a product, from the extraction of raw materials to the end of its life. This calculation is based on a recognised international standard (ISO 14025) and is externally checked by Bureau Veritas.
Details and specifications
- Discover TaHoma® switch, the smart control to centralise & connect the home. Connected equipment will then ease your customer’s daily life, bringing more convenience and peace of mind.
Please Note:
The UK version of the TaHoma switch is not directly compatible with the Control 4 system. If you would like to know the compatibilities of the UK TaHoma switch, please see the "compatibilities" section of the product page or contact your Somfy UK Technical Team.
Width (with packaging) : 85 mm
Weight (with packaging) : 0.428 kg
Height (with packaging) : 115 mm
1x TaHoma switch
1x USB power adapter
1x USB Power cable
1x Product Leaflet
1x Legal Security notice
1 x Onboarding sticker
WHATEVER THE TYPE OF HOME: Whatever room or building.
- TaHoma Switch is small, discrete and works via WiFi
WHATEVER THE NEED: Whatever level of home equipment.
- From one piece of equipment to a fully equipped house.
WHATEVER THE USE: Whatever your favourite interface.
- You can use app, voice or local control according to your preferences.
WHATEVER THE LIFESTYLE: Whatever your daily routines are.
- The customisation of the buttons allows you to play the scenarios of your choice.
SIMPLE & EVOLUTIVE:
Start with one or two pieces of equipment and add new equipment at your own pace.
COMPATIBLE WITH MANY HOME DEVICES:
Large ecosystem of Somfy products and partnerships with major home equipment brands.
SUPPORTS KEY SMART HOME PROTOCOLS:
Native integration of io-homecontrol, RTS and Zigbee 3.0 protocols along with cloud compatibilities.
CONTROL THE WAY YOU WANT:
From a touch of a button, to an app control, all the way to voice control.
Compatibilities
Amazon Alexa
Google Home
Other documents & links
Product presentation
Installation information
Downloads & videos
Act for green documents
FAQs
TaHoma switch is a smart command to centralize and connect your Somfy and other brands home equipment. It is compatible with three radio protocols: io home-control, RTS and Zigbee 3.0. It also allows Cloud and Voice Assistants compatibilities, like Google Assistant and Apple Homekit* . TaHoma switch is linked to the new TaHoma app, which allows the creation of manual, planned and advanced scenes and many other features.
Connectivity kit is the gateway to control Somfy motorizations and lighting from the TaHoma app or by voice (with an additional Voice Assistant). The Connectivity kit uses two Somfy radio protocols: io home-control and RTS. Even though they use the same app, the Connectivity kit offers less features than TaHoma switch, for example, only manual scenes can be created.
Other limitations apply to the Connectivity kit:
*note: Apple Homekit only supports (certain) io devices.
Somfy home automation boxes are compatible with many home equipment, from Somfy & major home equipment brands. You can add them when you start the adventure, or later at anytime.
Step by step procedure
During the first installation of your box, you will be guided by the app to pair products and devices.
You can also add new smart home product at anytime in the app by clicking in the “My home” menu.
Start by choosing the category of equipment.
You can also see the suggestions of smart home devices you already have at home and add them using the quick shortcuts!
You can also associate your device to a specific room to have a quick and easy access later.
Video procedure
Unleash your creativity: endless possibilities of scenes are available to you!
Why not creating a scheduled scene: a simple way to automate your home so your scene plays on a specific time or date.
For instance, schedule the automatic opening of your shutters every day of the week at 7 am.
This feature is not available with the Connectivity kit.
Step by step procedure
Go to “My scenes” menu.
Select "scheduled scene".
It could be a specific time, or based on the sun rise and sun set.
And set the recurrence: single or multiple days, and limit to a given period if needed.
To use the full potential of your scheduled scene, add more actions to the scene, and easily automate the entire day!
Name your scene and choose an icon.
Find you scene in the “my scene” menu.
And switch the button to de-activate or activate it again.
Find your scene in the “my scene” menu and open it.
Click on today in “my scene” menu.
- See all the scenes running today
- Select other days in the calendar, to see what happened in the past, and what is scheduled later
When creating a new scene, you can also start from an existing one, and modify it.
Find your scene in the “my scene” menu. Click to open it, and click on the duplicate icon.
All changes will be saved in a new scene
Video procedure
Unleash your creativity: endless possibilities of scenes are available to you! You can simply start with a manual scene and launch it when you want.
For instance, in one click, lower your shutters and dim the light for a cozy evening atmosphere.
Step by step procedure
Go to “My scenes” menu.
It could be an individual equipment, or a groups of equipment if you want to set common actions.
To use the full potential of your manual scene, add more equipment just after this first one!
Name your scene and choose an icon.
Find you scene in the “my scene” menu and simply click on the play button to launch it.
You can also use other ways to launch scenes:
- TaHoma® switch (and its buttons)
- Scene launcher
- Voice assistants*
*Requires an additional voice assistant (availability depending on countries)
Find you scene in the “my scene” menu and open it.
When creating a new scene, you can also start from an existing one, and modify it.
- Find your scene in the “my scene” menu and to open it
- Click on the copy icon at the top right of the screen.
All changes will be saved in a new scene.
Video procedure
Control your smart home devices by voice !
Discover how to configure voice assistants* in the TaHoma® app.
*requires an additional voice assistant, availability depending on countries.
Step by step procedure
In the main menu, go to “…”
Voice assistants are third party services.
The configuration of your TaHoma solution is partially based on its dedicated app: follow instructions displayed in the TaHoma® app.
Once complete, your equipment will be ready to be controlled by voice!
Video procedure
Leave your home with peace of mind by setting up your absence! Thanks to this scene, your equipment will be automatically activated during your holidays to simulate your presence!
Choose the dates of your vacations and link actions to this period.
The steps to follow to configure it:
1. Start in the "Scenes" menu
2. Click on "Agenda". Then, choice "Plan an absence +".
3. Enter your period of absence. The times corresponding to your departure and return can also be set.
4. Define the daily comportment of your equipment using the two options available to you:
Option 1: Planned actions
Determine specific actions that will happen at the same time every day.
Required settings:
At what time? (At dawn, dusk or at specific time)
Which equipment(s) and action(s)? (Open my shutters, turn off the light(s) ...)
Results:
- At dawn+1h, the shutters will open.
- At 6pm, the light will turn on
- At 7pm, the shutter will close and the light will turn off.
Option 2: Presence simulation
Select your equipment and the time interval of your choice. TaHoma will then activate them randomly during your absence!
Required settings:
- Over what time period? (E.g.: between 8 am and 6 pm)
- Which equipment(s)? (Shutters, blinds, lights...)
Results:
- At a random time between 8 am and 1 pm, the shutters will open.
- At a random time between 1 pm and 6 pm, the shutters will close.
Note that you can create your "holiday" scenario by choosing both planned and random actions. Also, it is possible to set up several planned actions and several random simulation periods per day.
At the end of your configuration, you can see the details of your planned actions and the summary of your presence simulations. You can still make changes. To see the summary of your presence simulation, click on “See my schedule”.
5. If you wish to expand your schedule, simply click on "+ Add action". If the schedule is convenient for you, click on "Validate".
6. You can find your "Holiday" scene in the "Scenes" menu.
To modify your absence period and your schedule, click on the "Edit my holiday" button. To delete the scenario, click on the "End the holiday period" button.
Your scenes in one touch!
Discover how to configure your TaHoma® switch buttons to easily centralise and control your smart home in one touch. Launch your 2 favourite scenes from the buttons, and customise them as much as you want!
To configure the buttons, simply create your personalised scenarios, and assign them to the buttons.
Step by step procedure
You will be guided to configure the buttons during the first installation of TaHoma® switch.
Or you can configure them at anytime in the app by clicking on the 3 dots menu "..."
Now, configure the first button by clicking the the " + " button.
A list of your scenes will appear. Simply select the scene to be assigned to the first button.
During the first installation of TaHoma® switch, you will be guided to configure your first scene. You can also configure it anytime via the app by clicking on the " + " button.
Configure the second button exactly the same way.
You can now centralize and control your home by launching your scenes at any time from your TaHoma® switch buttons.
TIP: If you need to stop the scene that you have just launched, just click on the middle button of TaHoma® switch.
Video procedure
Unleash your creativity: endless possibilities of scenes are available to you!
Explore them with advanced scene: even more personalised combinations, including multiple conditions and sensors.
For example, thanks to your motion sensor the light turns on temporarily at night when you pass through the corridor.
*This feature is not available with the Connectivity kit
Step by step procedure
Go to “My scenes” menu.
Select "advanced scene".
It could be a specific time, date, or based on the sun rise and sun set thanks to sun sensors.
You can also set up the launch of a scene according the status of a connected equipment in your home.
To use the full potential of your advanced scene, add more conditions to the scene, and easily make even more precise automation.
Name your scene and choose an icon.
Find your scene in the “my scene” menu.
And switch the button to de-activate or activate it again.
Find your scene in the “my scene” menu and open it.
Click on today in “my scene” menu.
- See all the scenes running today
- Select other days in the calendar, to see what happened in the past, and what is scheduled later
When creating a new scene, you can also start from an existing one, and modify it.
Find your scene in the “my scene” menu. Click to open it, and click on the duplicate icon.
All changes will be saved in a new scene
Video procedure
Add a favourite
Then click on the item(s) you want to add:
- An equipment
- A room
A scene
Once selected, choose the display size of your favorite from 3 widget options:
1. Small icon: To quickly access your equipment
2. Medium icon: In order to be able to control the essential
3. Large icon: To have all the functions at your fingertips
The TaHoma® app automatically rearranges the layout of your favorites based on their size.
It is also possible to directly add items to your favorites by simply clicking on the star icon on their respective usage screen.
Create a group of favorites
You can also add equipment groups to your favorites! Indeed, it is possible to gather products from the same category within a multiple favorite. For example, all the shutters on the south facade.
NB: Equipment belonging to different categories cannot be grouped together.
Once selected, choose the display size of your favorite from 3 widget options:
1. Small icon: To quickly access your equipment
2. Medium icon: In order to be able to control the essential
3. Large icon: To have all the functions at your fingertips
Customise your favourites
To customize one of your favorites, long-press on its icon/widget. You will then have the possibility to:
- Move: Easily move the selected icon/widget to the desired location in order to change the order of your favorites.
- Change the size: Adjust the display size of your favorite.
- Delete: Delete a favorite (Note: If you delete a product from the favorites, it will still be accessible from the home menu).
Enjoy a house easier to live in and save time on a daily basis: personalise your scenes, launch them in a click or program them according to your habits. Get inspired by the suggestions, or create your own.
Step by step procedure
Let the TaHoma® app guide you and personalise scenes from the suggested daily habits
Go to “My scenes” menu.
The scenes will be readily available from the main screen.
Select the scene.
For example:
- Choose how to launch the scene.
- Then, select the equipment and its related actions to do.
Tip: for even more ease of use, you can get contextual suggestions, based on the actual smart home products of your home, and depending on what makes sense for each scene.
Video procedure
Technical information
Approval |
---|
Protection Index | IP 20 |
Insulation class | III |
Dimensions |
|
---|---|
Unwrapped product weight | 0.213 kg |
Unwrapped length | 162 mm |
Unwrapped width | 35 mm |
Unwrapped height | 675 mm |
Minimum voltage | 100 V |
Maximum voltage | 240 V |
Rated current | 1 A |
Power supply | AC - RGE 1 - 230V/50HZ |
Color / Finish | White |
Minimum working temperature | 0 °C |
Maximum working temperature | 35 °C |